Buying Guide
Best Laser Engravers for Beginners: What Your First Machine Actually Needs
Your first laser should be safe to learn on, simple to set up, and not something you outgrow in a month. Compare beginner machines by enclosure, software, work area, and total startup cost — not just wattage.
Digital Workshop Guide may earn a commission if you purchase through certain links on this page, at no additional cost to you. Affiliate relationships do not determine our factual conclusions or recommendations. Read the full Affiliate Disclosure.
Buying your first laser engraver is rarely a wattage problem. A 10W, 20W, and 40W machine are not three steps on one ladder — they are three different tools, and the cheapest one is not always the cheapest way to start. The real question is what machine will let you learn safely and successfully without buying something you immediately regret or outgrow in a month.
Before comparing models, work through five questions that matter more than a spec sheet: What do you actually want to make? What materials do you expect to use? Where will the machine operate? How much setup and software complexity are you comfortable learning? And what is your total startup budget — not just the machine price?
This guide compares four current machines that represent genuinely different first-buyer paths, from a simple enclosed 10W starter to a more expandable 40W system. Digital Workshop Guide has not personally tested, owned, or measured these machines. The assessments below are based on manufacturer specifications, documented material compatibility, software support, enclosure and safety design, work area, warranty statements, and clearly identified third-party demonstrations. See our Editorial Policy for how we research and evaluate workshop technology.
Quick recommendations: if you make X, start here
Before the detailed comparison, here is a quick way to orient. Match what you plan to make to the machine category that suits it:
- I want the simplest enclosed laser-first setup: A fully assembled, enclosed 10W diode like the Creality Falcon A1 keeps setup minimal and safety planning simpler — a reasonable first machine if your goal is learning engraving and light cutting.
- I want more capability without jumping to a large CO2 machine: A step-up enclosed 20W diode like the Creality Falcon A1 Pro adds power and autofocus while staying desktop-sized — for a beginner who expects to grow into more demanding projects.
- I make crafts and want printing/creative capabilities beyond laser work: A craft-oriented machine like the xTool M2 pairs laser engraving and cutting with optional color printing — but confirm which modules are included, since printing and IR functions are add-ons, not base features.
- I expect to grow into larger projects and stronger cutting: A more expandable 40W enclosed diode like the xTool S1 gives cutting headroom and a larger work area — worth it only if you expect to outgrow a 10W starter quickly.
Compare the machines at a glance
The table below summarizes the 4 machines by laser type, best-fit use, working area, and approximate price class. Use it to narrow the field, then read the individual profiles for the trade-offs that matter to your work.
| Machine | Laser Type | Best For | Work Area | Price Class |
|---|---|---|---|---|
| Creality Falcon A1 | Diode (blue) | Simplest enclosed first laser; learning engraving | ~305 × 381 mm | Under $500 class |
| Creality Falcon A1 Pro | Diode (IR module option) | Step-up enclosed diode; growing into more work | ~268 × 358 mm | $500–$1,000 class |
| xTool M2 | Diode (configurable) | Craft + optional color printing workflows | ~426 × 320 mm | $500–$1,000 class |
| xTool S1 | Diode (blue) | Expandable path; larger projects and cutting | ~19.6 × 12.6 in | $1,000–$2,000 class |
Price classes are approximate and descriptive — not temporary sale prices. Confirm current pricing and regional availability with the manufacturer. Working areas are approximate and drawn from manufacturer documentation.
How we evaluated these machines
Digital Workshop Guide has not personally tested these machines. We have not owned, operated, measured, or reviewed them hands-on, and we do not claim to. This comparison is a research-based assessment, not a hands-on test. It is based on:
- Enclosure and safety design, since an enclosed machine simplifies a beginner's safety and workspace planning
- Setup and assembly complexity, including whether the machine arrives ready to run or requires building
- Positioning workflow, such as camera-assisted alignment versus manual framing
- Software learning curve, including manufacturer apps and third-party options like LightBurn
- Ventilation requirements, since enclosure does not eliminate the need to manage smoke and fumes
- Documented material compatibility and the materials each machine is designed to process
- Work area large enough to be useful without demanding more bench space than a beginner has
- Total startup cost, including accessories a beginner often needs beyond the machine
- Room to grow, so a first machine is not immediately outgrown
- Warranty information and the availability of manufacturer documentation and support
- Price positioning, described as an approximate class rather than a temporary sale price
Where we reference third-party information, we identify it as such. See our Editorial Policy for how we approach research and publishing.
The machines, in detail
Each profile below opens with a quick scan — what the machine is best suited for, its laser type and work area, a short assessment, and a link to the manufacturer. Select View full details on any machine to expand its full specifications, considerations, and trade-offs. You can keep several open at once to compare.
Under $500 class
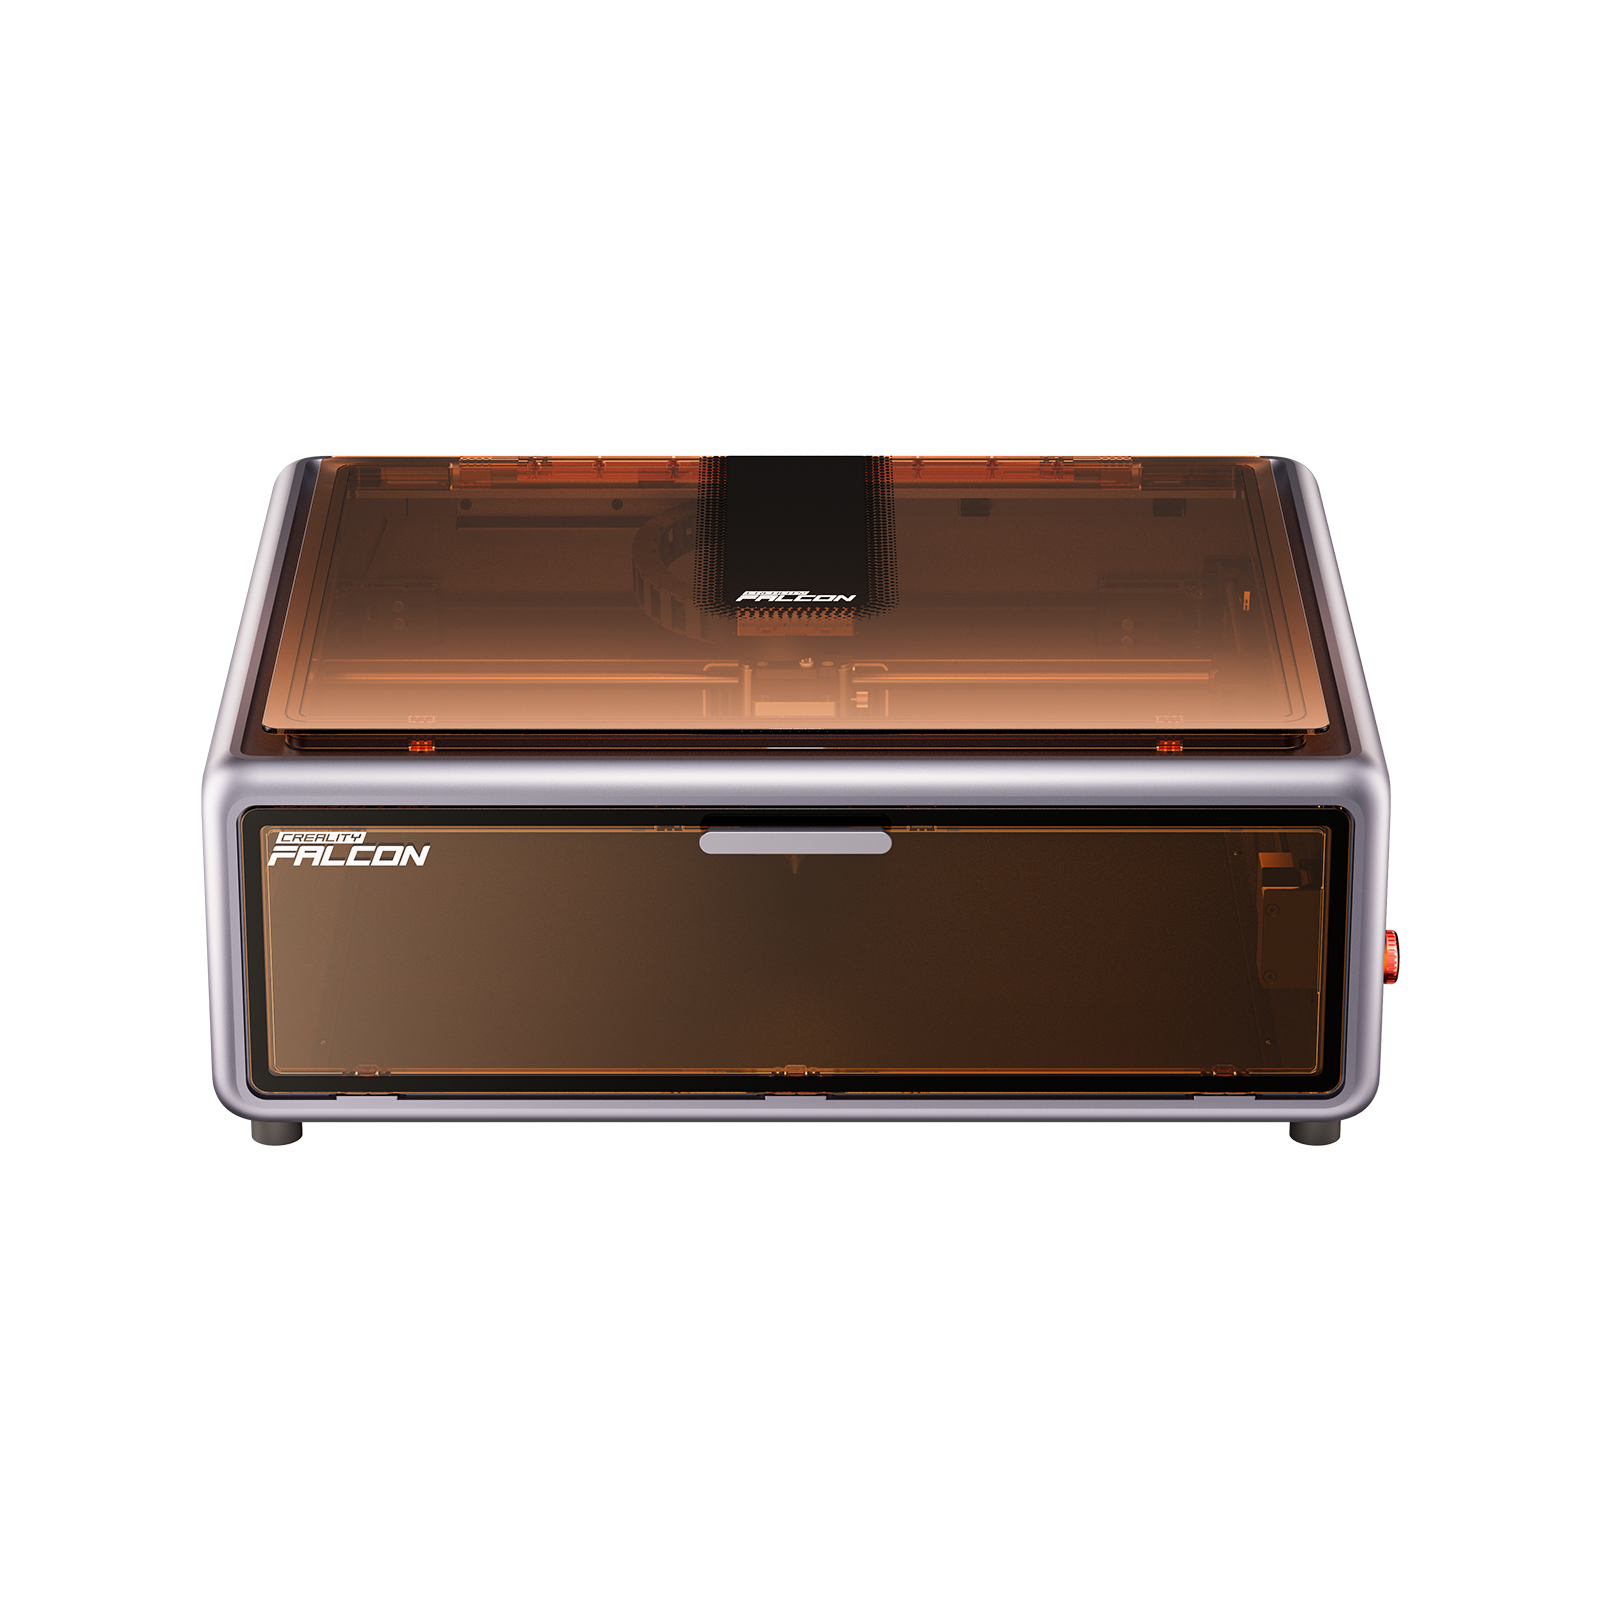
Creality Falcon A1
- Laser
- Diode (blue)
- Power
- 10W optical
- Work area
- ~305 × 381 mm
Best suited for
First-time buyers who want a fully assembled, enclosed 10W diode they can learn on without building a gantry or buying a separate enclosure.
A 10W enclosed diode positioned as plug-and-play, with a built-in HD camera and a CoreXY motion system. It is the simplest entry point here — enough for engraving and light cutting while keeping safety planning straightforward. It is not a production cutter, and a beginner who expects to cut thicker wood regularly may outgrow it.
$500–$1,000 class
Creality Falcon A1 Pro
- Laser
- 20W diode (2W IR module option)
- Power
- 20W diode
- Work area
- ~268 × 358 mm
Best suited for
Beginners who want a 20W enclosed diode with autofocus and camera-assisted positioning, and who may want light metal marking via an optional IR module.
A 20W enclosed diode that shares the A1's enclosed, desktop-friendly form factor but adds more optical power, autofocus, and a touchscreen/app workflow. Its optional 2W IR module enables light metal marking — but it is a low-power marking option, not a substitute for a 20W fiber laser. It is a sensible step up for a beginner who wants room to grow without moving to a CO2 cabinet.
$500–$1,000 class
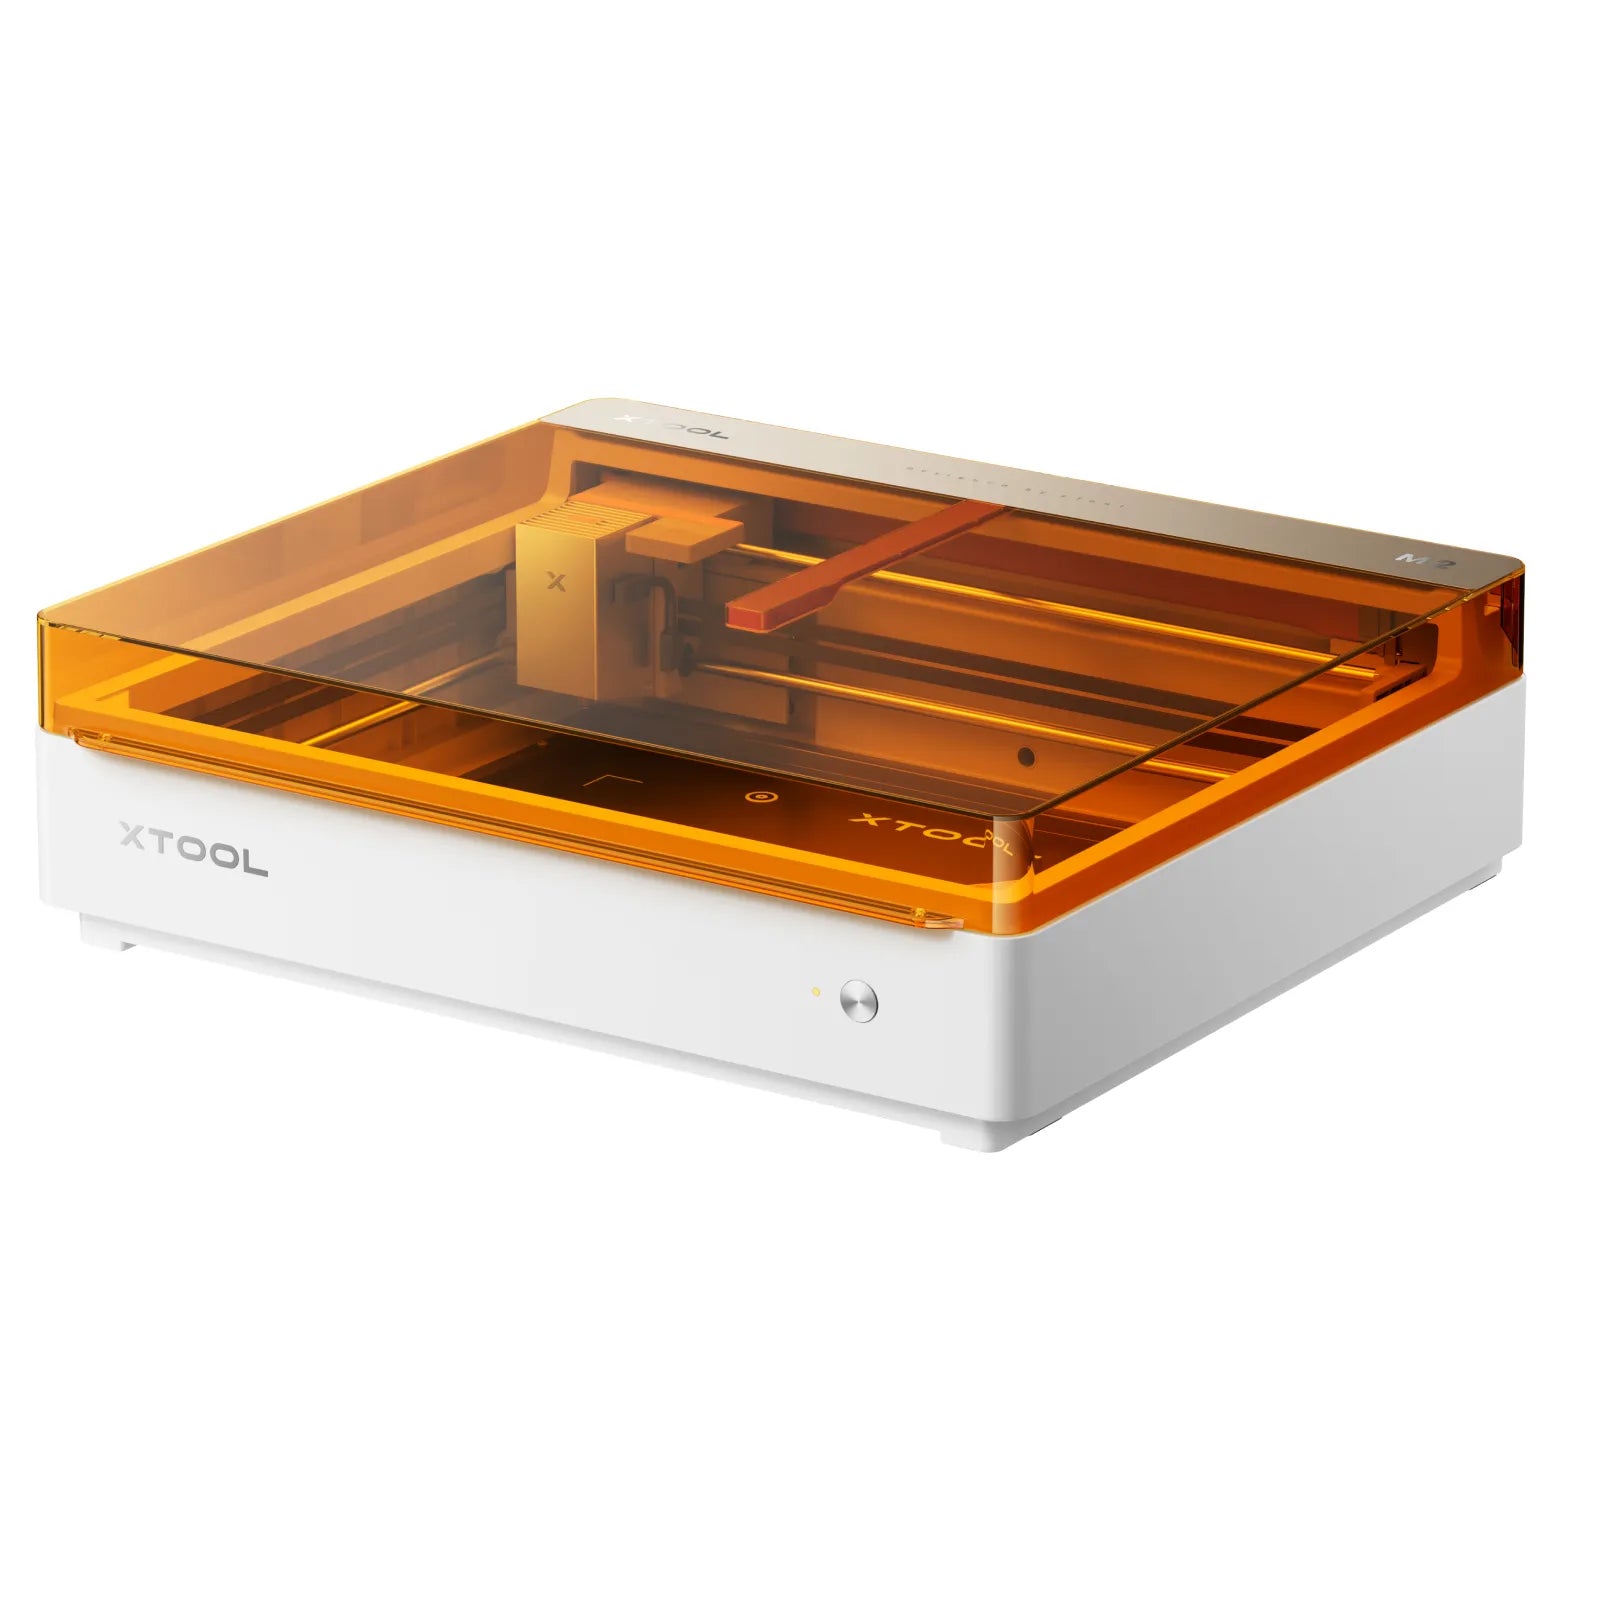
xTool M2
- Laser
- Diode (configurable)
- Power
- 10W base (20W module available)
- Work area
- ~426 × 320 mm
Best suited for
Crafters who want laser engraving and cutting alongside optional color printing and blade cutting in one compact, enclosed desktop machine.
The xTool M2 is a compact, enclosed craft machine that combines laser engraving and cutting with optional CMYK inkjet printing and blade cutting. Its base 10W diode configuration handles common craft materials, with a 20W module and a 3W IR module available. Printing and IR functions depend on configuration and add-ons, so confirm what is included before buying — they are not base features of every unit.
$1,000–$2,000 class
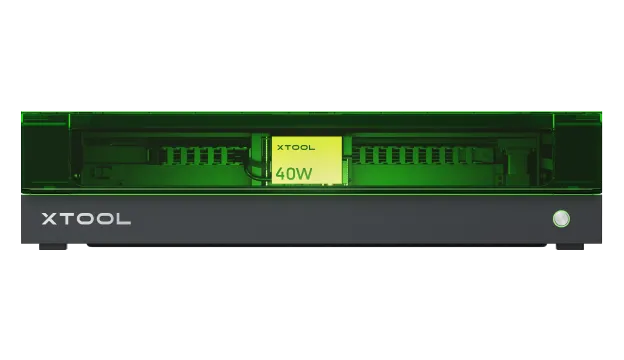
xTool S1
- Laser
- Diode (blue)
- Power
- 40W optical
- Work area
- ~19.6 × 12.6 in
Best suited for
Beginners who expect to outgrow a 10W starter quickly and want a 40W enclosed diode with a larger work area and stronger cutting capability from the start.
A 40W enclosed diode with a roughly 19.6 × 12.6 in work area — more cutting headroom and bed space than the 10W and 20W starters here. It is not inherently 'better for beginners'; a first-time buyer doing mostly engraving may not need 40W. But if you expect to cut thicker wood or run larger projects, it is a more expandable first machine that is harder to outgrow quickly.
Should a Beginner Buy Diode or CO2?
Most beginners start with a diode laser, and for good reason. Diode machines are smaller, cheaper, and simpler to maintain than CO2 lasers, and enclosed diode options keep safety planning straightforward. For engraving wood, leather, paper, and coated materials — the work most beginners actually do — a diode is a sensible entry point.
CO2 is not off-limits for a first-time buyer, though. If clear acrylic or more substantial non-metal cutting is central to what you want to make, a CO2 laser is the category that can actually do that work, and a beginner with that goal should not be talked out of it simply because CO2 is 'more advanced.' The trade-off is a larger footprint, higher cost, and a consumable laser tube.
Fiber lasers are a separate category for metal marking and are not a typical first machine. This guide focuses on diode and CO2 because they cover the materials most beginners start with.
- Diode: Best first machine for most beginners. Smaller, cheaper, lower maintenance. Handles wood, leather, paper, and coated crafts. Not for clear acrylic or bare metal.
- CO2: Worth considering even as a beginner if clear acrylic or heavier cutting is central to your plans. Larger footprint, higher cost, consumable tube.
- Fiber: A metal-marking category, not a typical first machine. Out of scope for most beginners unless metal engraving is the specific goal.
What Can a Beginner Make?
Realistic first projects tend to be small, personal, and forgiving of learning. These are common beginner outputs — but not every machine here works with every material, so verify compatibility before you buy:
- Coasters and ornaments: Small wood or acrylic blanks are ideal first projects — quick, low-cost, and good for practicing focus and settings.
- Wooden signs: Engraving names or designs onto wood blanks is a common beginner project. Cutting thicker wood needs more power than a 10W starter provides.
- Leather patches and tags: Diode lasers engrave and cut leather well. An enclosed machine helps manage the smoke and odor.
- Personalized gifts: Wood, leather, and coated items are the bread and butter of beginner personalization work.
- Paper and cardstock: Diode lasers cut and engrave paper and cardstock, useful for cards and layered paper projects where appropriate.
- Slate and stone tiles: Diode lasers can mark coated or dark slate. Verify the specific material is appropriate for laser processing.
- Coated and tumbled products: Coated tumblers and similar items can be marked where compatible; a rotary attachment is usually required for cylinders.
- Simple cutting projects: Thin craft plywood and acrylic (where the laser type supports it) are reasonable first cutting jobs. Do not assume every acrylic works with every diode laser.
The Real Cost of Your First Laser
The machine's sticker price is only part of what a beginner actually spends. A low-priced open-frame laser may need additional spending on enclosure, ventilation, and accessories before it is usable safely. Budget for these from the start:
- Ventilation and exhaust: Every laser produces smoke and fumes. You need exhaust to the outside or a dedicated air filtration system sized to your machine and materials — enclosure does not change this.
- Air filtration: Where outside exhaust is not possible, an inline filtration system captures particulates and odors. Not all materials are safe to filter — confirm compatibility.
- Air assist: Directed air at the cut point reduces charring and flare risk and improves cut edges. Some machines include it; others require it as an add-on.
- Honeycomb and work surfaces: A honeycomb bed or knife-edge supports material and protects the machine base while allowing air flow. Budget for it if it is not bundled.
- Materials: Wood, acrylic, leather, and blank stock add up, especially while you are dialing in settings. Plan for material during the learning phase.
- Rotary attachment: Engraving tumblers, cups, and cylinders requires a rotary attachment. Confirm compatibility and whether it is included.
- Riser: Raising the material or adding a riser base changes focal distance and enables thicker material — a small but real cost.
- Software: Some machines require paid software (e.g., a LightBurn license) beyond the manufacturer app. Factor licensing into your total.
- Replacement and consumable parts: Diode modules, lenses, and (for CO2) tubes are consumables with finite lifespans. Plan for eventual replacement.
- Fire-safety equipment: A laser is an ignition source. Keep a suitable fire extinguisher nearby, never leave a running laser unattended, and follow the manufacturer's safety procedures.
Software: Learn the Workflow, Not the Feature Count
For a beginner, software is the workflow you will actually use every day — not a list of features. Manufacturer apps like Falcon Design Space, xTool Creative Space (XCS), and Glowforge Print are designed to be approachable and to match their hardware's features (cameras, autofocus, material presets). They are usually the fastest path from unboxing to a first successful job, which matters when you are learning.
LightBurn is the most common third-party alternative and offers finer control over cut settings, layers, and production workflows. It is a one-time license for many setups and gives you room to grow beyond a manufacturer app — but it has a steeper learning curve and is not the best first software for someone who has never run a laser.
The practical advice for a beginner: start with the manufacturer app until you understand focus, power, speed, and material behavior, then move to LightBurn only if you need the extra control. If a specific software workflow matters to you, confirm current LightBurn or LaserGRBL support for a specific machine before buying, since compatibility can change.
What a Beginner Actually Needs
Enclosure simplifies a beginner's safety and workspace planning. An enclosed machine contains stray light and smoke, which makes it easier to operate responsibly in a home or shared space than an open-frame gantry. But enclosure is a head start, not a complete solution.
Ventilation is the part beginners underestimate. An enclosed machine still produces smoke and fumes, and those still need to go somewhere — exhaust to the outside or a certified filtration system. Enclosure does not mean smoke can simply remain indoors. Plan where the machine will live and how air will move before you buy, not after your first cut fills the room.
Positioning matters for beginners because manual framing is a common source of frustration. Camera-assisted positioning lets you place a design visually on your material, which is far easier than measuring and aligning by hand. It is worth prioritizing for a first machine.
Work area is a balance. Buying too small becomes frustrating fast — a tiny bed limits sign sizes and batch layouts. But buying an enormous machine without bench space for it creates a different problem. Match the bed to the projects you actually plan to make, and measure your intended location first.
Power, finally, is not the ranking factor it is often made out to be. A 10W machine can produce crisp surface engraving on hardwood; 20W adds cutting headroom; 40W is for users who expect to cut thicker material regularly. Lower power can be perfectly appropriate for engraving. Increased optical power becomes more useful as cutting requirements increase — and material, focus, air assist, and machine conditions all affect actual results. Do not buy wattage you have no plan to use.
Common First-Buyer Mistakes
Most beginner laser regrets come from buying for the wrong reason. These are the mistakes worth avoiding before you spend anything:
- Buying based solely on wattage: More watts is not automatically a better first machine. A 10W engraving-focused beginner does not need 40W, and extra power you never use is money that could have gone to ventilation, materials, or accessories.
- Buying based solely on the lowest price: The cheapest machine is not always the cheapest way to start. A low-priced open-frame laser may need an enclosure, ventilation, air assist, and a work surface before it is usable safely.
- Forgetting ventilation: Every laser produces smoke and fumes. Plan exhaust or filtration before buying, not after your first cut.
- Assuming every acrylic works with every diode: Diode lasers generally cannot cut or cleanly engrave clear acrylic. If acrylic is a goal, confirm the laser type can actually process it.
- Overlooking work area: A bed that is too small for your planned projects becomes frustrating fast. Match the work area to what you actually want to make.
- Buying accessories before understanding the workflow: Rotary attachments, risers, and add-ons are useful, but buying them before you understand your own workflow often means buying the wrong ones.
- Treating maximum cutting figures as everyday results: Manufacturer maximum cutting depths reflect ideal conditions. Real-world results vary with material, moisture, focus, and settings.
- Ignoring software compatibility: If a specific software workflow matters to you, confirm current support for the exact machine before buying.
- Expecting a laser to run unattended: A laser is an ignition source. Never leave a running laser unattended, and follow the manufacturer's safety procedures.
Keep reading
- Best Laser Engravers for Small Business
- Best Laser Engravers for Wood
- Laser Engraving & Cutting hub
- Editorial Policy
- Affiliate Disclosure
More laser guides are being researched — including Types of laser engravers and How much laser power do you need. We publish researched content deliberately rather than as thin placeholder pages, so those links activate only when each article is complete.